This guide will walk you through the step-by-step process of integrating the Cliqform with Pabbly Connect and explain how Pabbly helps automate workflows by connecting Cliqform with hundreds of other tools.
What is Pabbly Connect?
Pabbly Connect is a no-code automation platform that allows you to connect different apps and automate workflows between them. Instead of manually moving data from one tool to another, Pabbly enables you to create automated workflows using triggers and actions.With Pabbly, you can
Automatically send new leads to CRMs, email tools, or spreadsheets.
Trigger follow-up emails when a form is submitted.
Sync lead data across multiple tools in real time.
Reduce manual work and human errors.
Why Integrate Cliqform with Pabbly?
By integrating Cliqform with Pabbly, you can automate what happens after a form is submitted.Common use cases include:
Sending new Cliqform form submissions to Google Sheets
Adding leads to CRM tools like HubSpot, Zoho, or Salesforce.
Triggering email campaigns in tools like Mailchimp or ActiveCampaign
Sending Slack notifications for new lead
Creating tasks in project management tools.
Before You Start
Make sure you have:
An active Cliqform account.
An active Pabbly Connect account.
A published Cliqform form.
Step-by-Step: How to Integrate Cliqform with Pabbly
Step 1: Log in to Pabbly Connect
Go to your Pabbly Connect dashboard.
Click on Create Workflow.
Give your workflow a name (for example: Cliqform Form Integration).
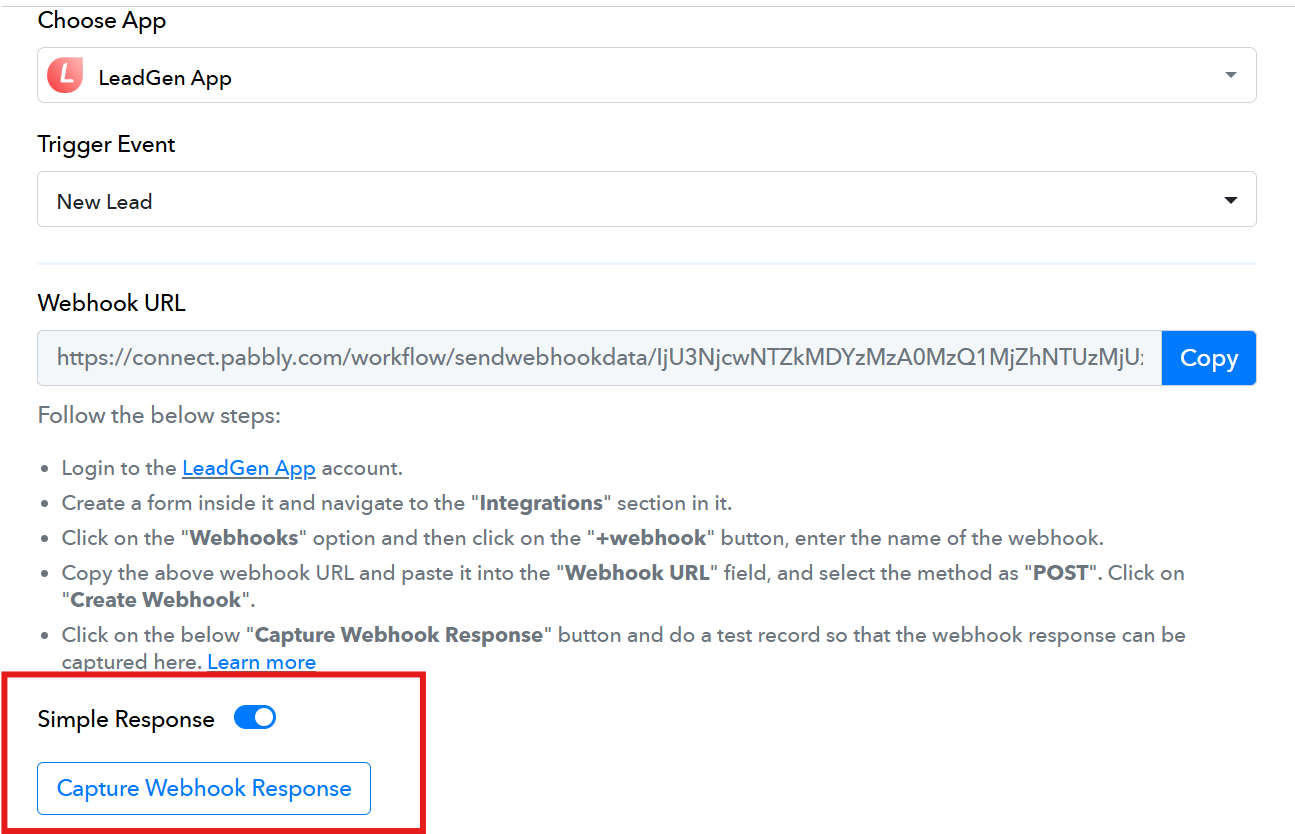
Step 2: Set LeadGen as the Trigger App
In the trigger step, select Cliqform as the application.
Choose the trigger event, such as New Lead Submission.
Click Connect.
Step 3: Copy the Webhook URL from Pabbly
Once the trigger is selected, Pabbly will generate a Webhook URL.
Copy this webhook URL—you will need it inside the Cliqform.
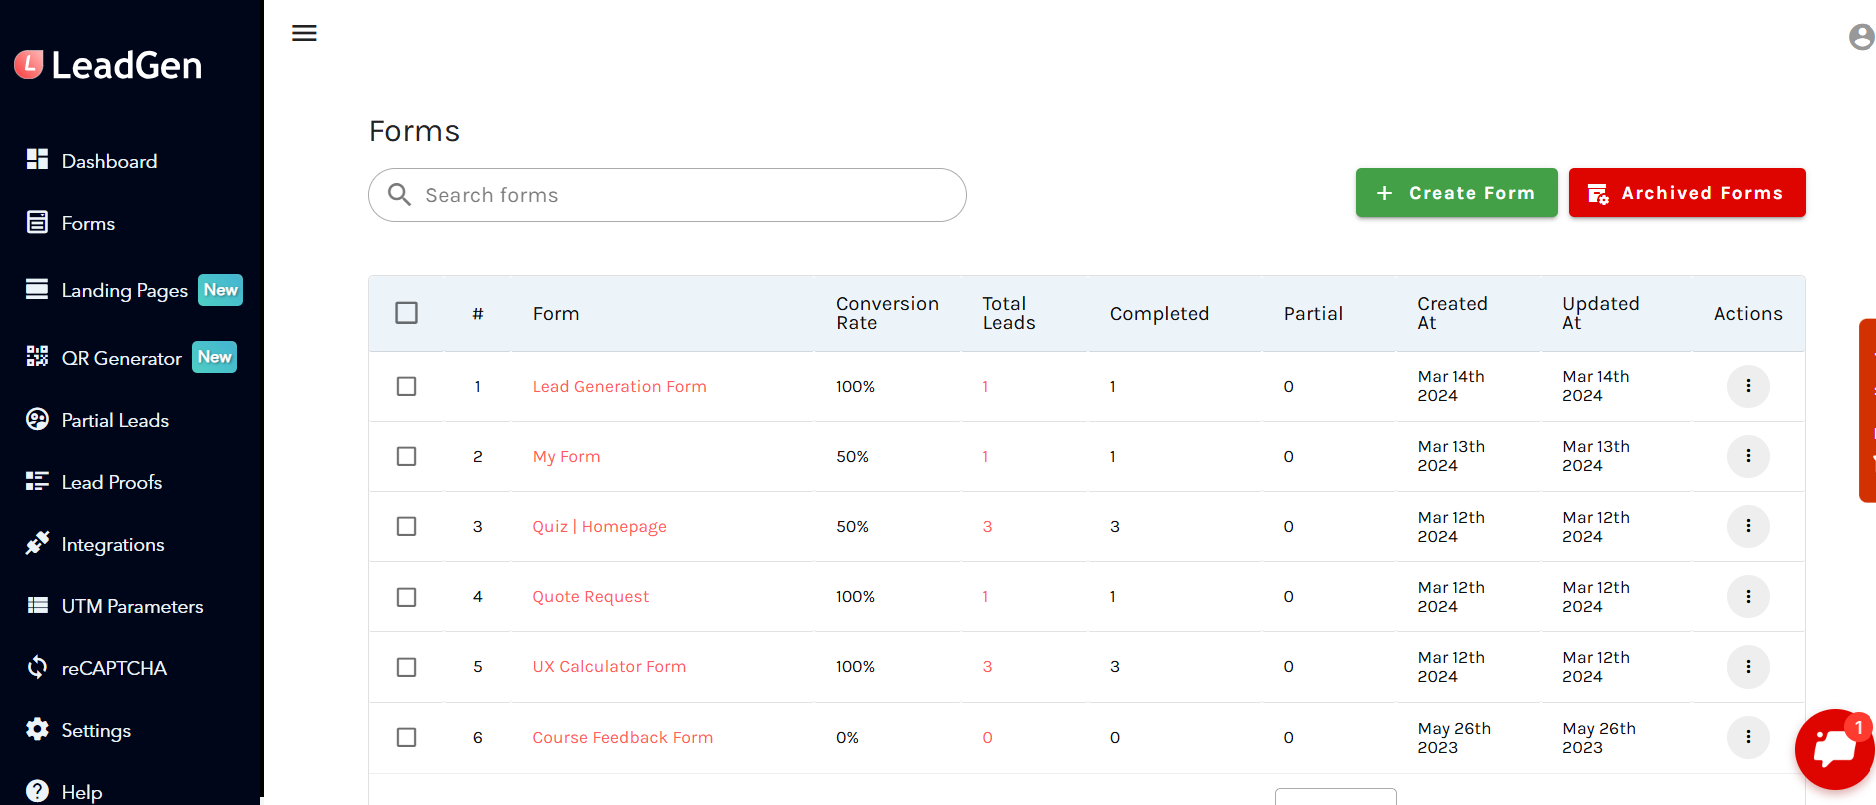
Step 4: Add the Webhook in Cliqform
Log in to yourCliqform dashboard.
Open the form you want to integrate.
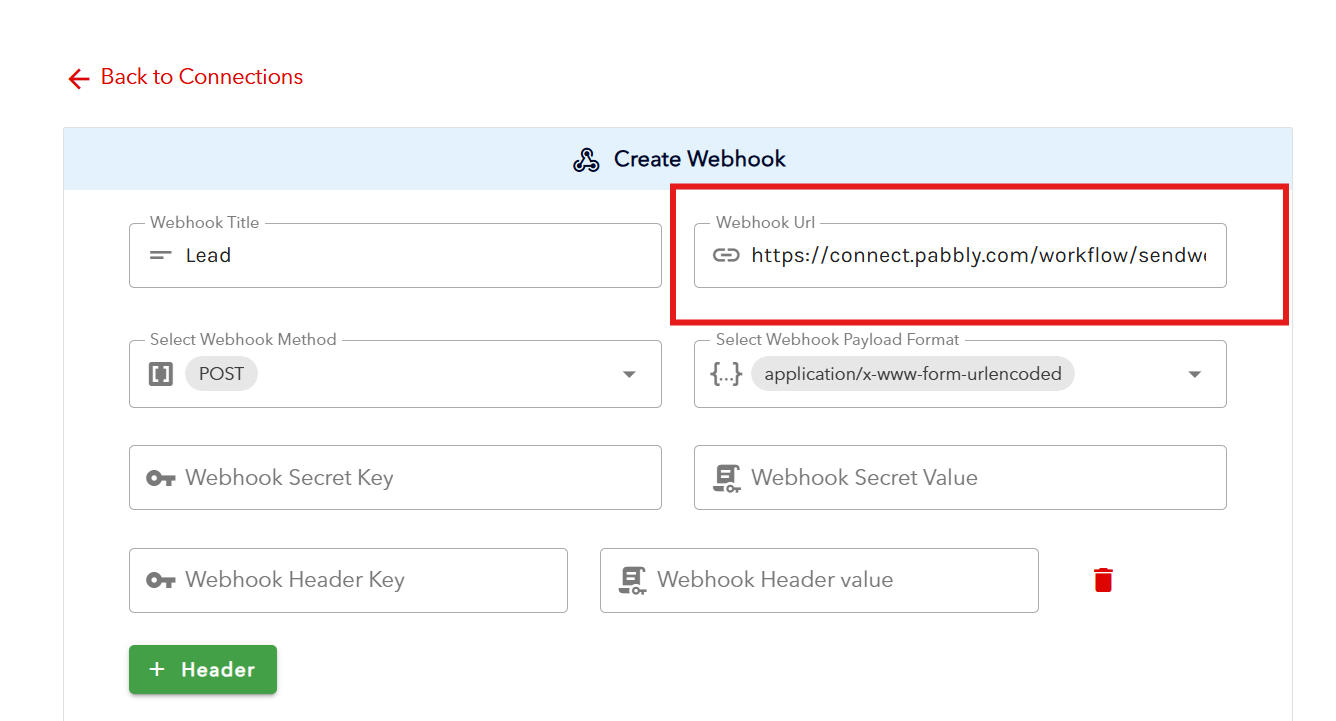
3. Go to Integrations and then Webhooks settings.
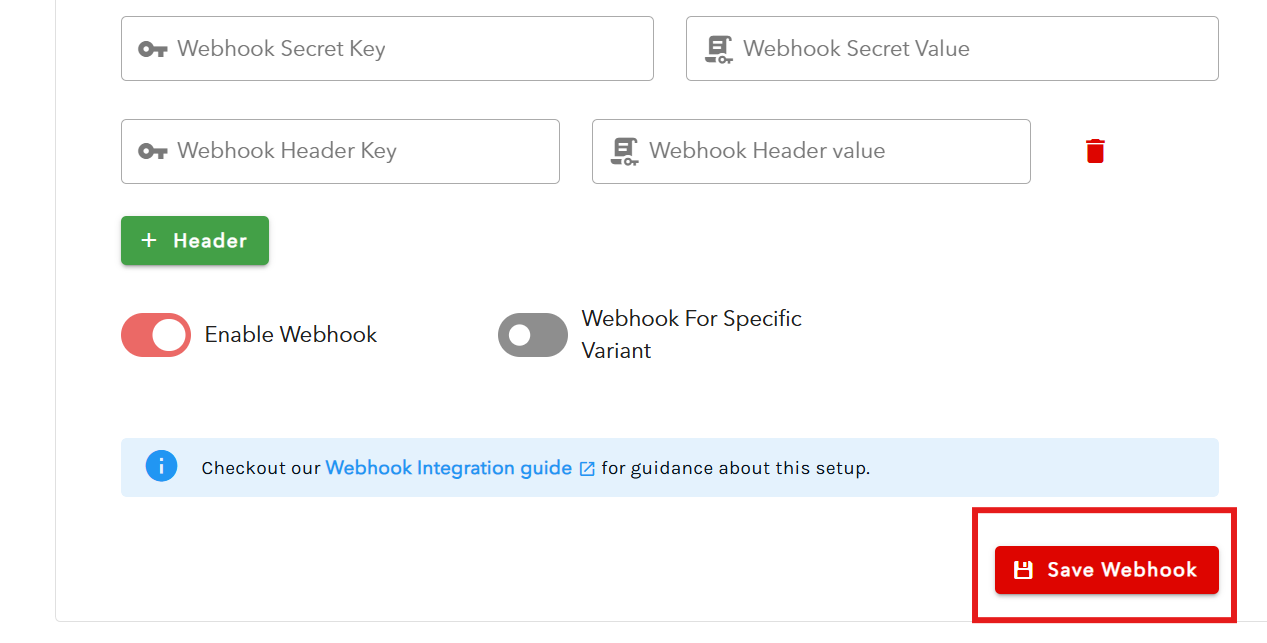
4. Paste the Pabbly Webhook URL you copied earlier.
5. Save your changes.
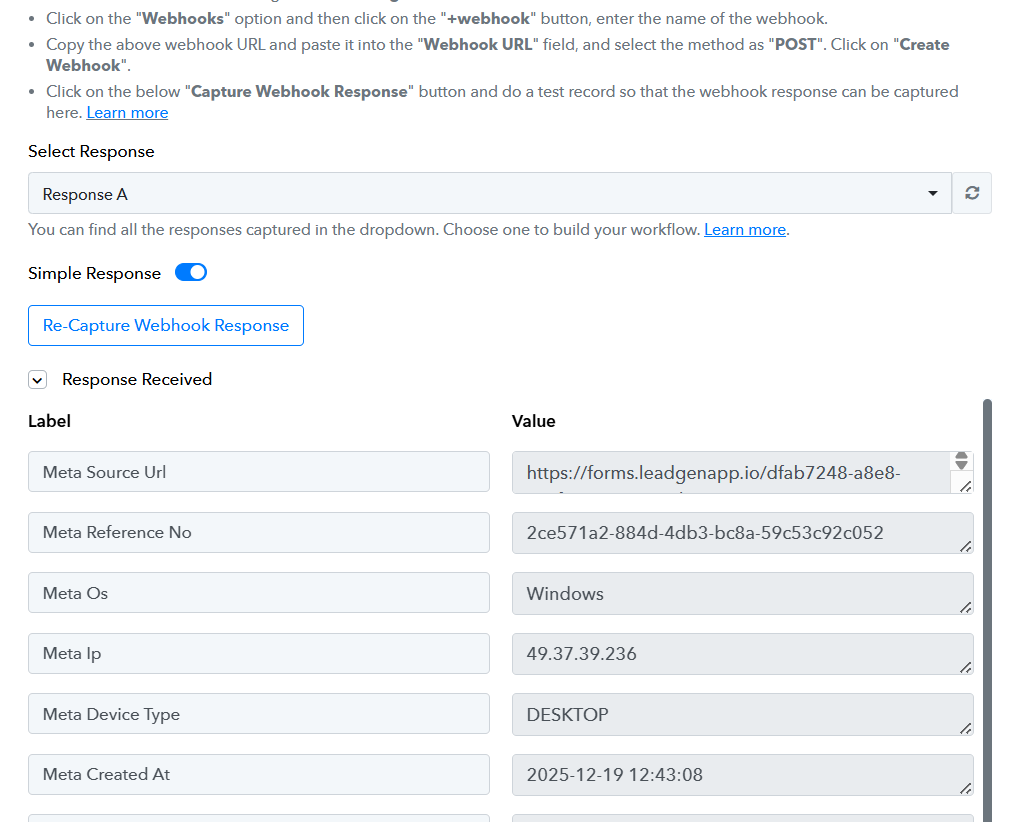
Step 5: Send Test Data from Cliqform
Submit a test entry through your Cliqform form.
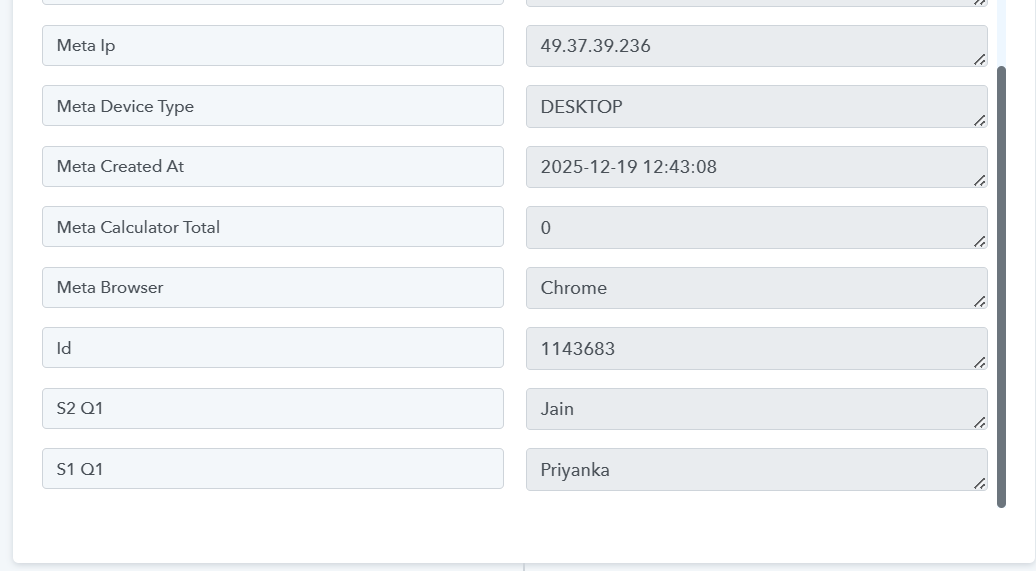
Go back to Pabbly and click Capture Webhook Response.
3. Pabbly will fetch the form data and display the response. Now open your form and fill in the fields. This step allows Pabbly to understand the structure of your Cliqform form data.
Step 6: Add an Action App in Pabbly
Now decide what should happen after a form submission.
Click Add Action in your workflow.
Choose the app you want to send data to (for example: Google Sheets, CRM, Email tool).
Select the required action (such as Create Row, Add Contact, or Send Email).
Map the Cliqform form fields to the corresponding fields in the action app.
Save and test the action.
Step 7: Activate the Workflow
Once everything is set up and tested:
Turn ON the workflow in Pabbly
Your automation is now live
From this point on, every new LeadGen form submission will automatically trigger the configured actions.
How Pabbly Helps Automate Workflows
Pabbly acts as a bridge between LeadGen and other tools you use daily. Instead of handling leads manually, Pabbly ensures your data flows automatically across platforms.Benefits of using Pabbly for automation:
No coding required
Faster lead response time
Scalable workflows as your lead volume grows
Centralized automation management
Reduced dependency on developers
Common Automation Examples
Send LeadGen leads to Google Sheets for reporting
Automatically add leads to your CRM
Trigger welcome emails instantly
Notify sales teams in Slack or email
Create tasks for follow-ups
Troubleshooting Tips
Ensure the webhook URL is correctly pasted in LeadGen
Always capture test data before adding actions
Check that the workflow is turned ON
Verify field mapping to avoid missing data
Need Help?
If you face any issues while setting up the integration, reach out to the Cliqform support team or check Pabbly’s documentation for advanced automation options.By integrating LeadGen with Pabbly, you can streamline lead handling and focus more on converting leads rather than managing data manually.
Any Question Left?
Message us via the chat window in the bottom right of the page and we will answer any of your questions!